Configure Dual Delivery: G Suite
This
NOTE: It is recommended you use the Google Chrome browser to configure Google Apps. Fortra Cloud Email Protection has encountered UI bugs that prevent other browsers (specifically Safari) from completing the dual delivery configuration.
The general procedure is as follows:
Step 1: Create a new route: a host or host combination as an additional “route” for the Fortra Cloud Email Protection Sensors to which you want to send copies of email.
Step 2: Add a “Default routing” rule to copy the messages to the Sensors via the new route.
-
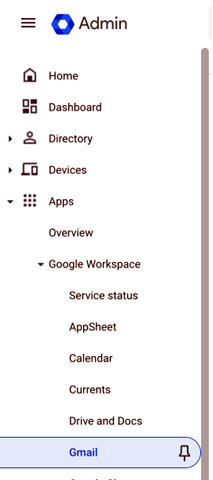
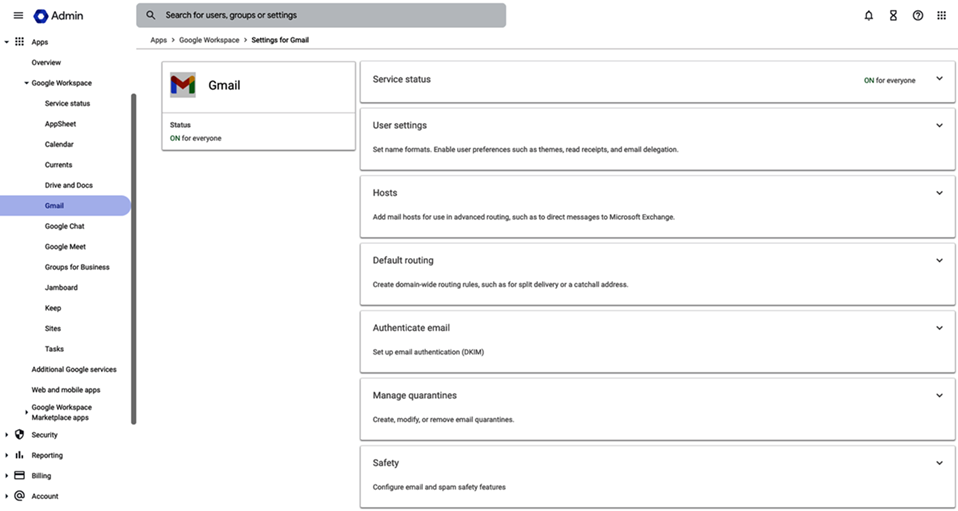
In the Google Apps admin control panel, click the menu icon next to Google Admin to access the drop-down menu, then select Apps > Google Workplace > Gmail, and in the menu click Hosts.

- In the Hosts screen, click ADD ROUTE.
- Enter the details for the mail route:
- Enter a useful, recognizable name, for example, “Agari Sensor."
- Enter one or more values for email servers, which are hostnames (recommended) or IP addresses and port numbers that correspond to the network location of the Sensors.
- If Fortra Cloud Email Protection is hosting your Sensors, select Single host and enter the hostname (your sales or support representative will provide you with the information to enter here, which will be in the form of "symbolicname.hosted.agari.com" where symbolicname is the symbolic name used for your organization) and port number (25) for your Sensors. (Technically, the hostname is for a load balancer "in front" of all of the Sensors you use.)
- If you are hosting your Sensors, then select Single host if you are using one Sensor and Multiple hosts if you are using more than one Sensor. For the latter, click Add and enter the IP address, port number, and load percentage for each Sensor you use. You can define hosts as primary and secondary (the latter for fallback purposes), but the total percentage for each category must total 100%. For example, you could have 3 Sensors you define as primary hosts with load percentages of 34, 33, and 33, and 2 Sensors you define as secondary hosts with load percentages of 50 each.
- TLS certificates are already configured on your Sensors, so you can enable Require secure transport (TLS) and optionally also Require CA signed certificate (if appropriate; work with your sales or support representative to determine the proper settings).
- Click SAVE.
Step 2: Add a “Default routing” Rule to Copy Messages to the Sensor
To divert a copy of messages to the Sensor, you will create a routing rule under the Default routing . You will reference the route you created in the section above in this new routing rule setting.
- In the Google Apps admin control panel, go to Apps > Google Workplace > Gmail > Default Routing.
- Click the Default Routing tab.
- Click ADD ROLE.
- Enter the details for the route settings:
- For Specify envelope recipients to match, select All recipients.
- Under Section 2, select the Add more recipients check box.
- Click ADD.
- Switch from Basic to Advanced view.
- Select the Change route check box, and the select the sensor mail route you created in Step 1: Create a New Route.
- In the Spam and delivery options section, select the Do not deliver spam to this recipient and Suppress bounces from this recipient check boxes.
- In the Headers section, select the Add X-Gm-Original-To header and Add X-Gm-Spam and X-Gm-Phishy headers check boxes.
- Click SAVE.
- In the Options section, select Perform this action on non-recognized and recognized addresses.
- Click SAVE.
Mail will begin to be delivered to the sensors.
NOTE: You may have other “Default routing” options configured. If so, you will need to carefully consider where to place this new setting among other routes that may be configured. Fortra Cloud Email Protection recommends adding this route as the first setting (Order = “1”) to ensure that all deliverable mail is also delivered to the sensors. However, you may need to consider routing policies that may be unique to your organization and its policies.
Wrapping Up
When the above steps are completed, the Cloud Email Protection sensors will start receiving copies of email messages sent into your organization. There may be a small delay of a few minutes before Google’s systems commit the changes and they take full effect. You can confirm the traffic flow by logging into Cloud Email Protection at https://ep.agari.com and navigating to Manage > Sensors to see the status of your installed sensors.